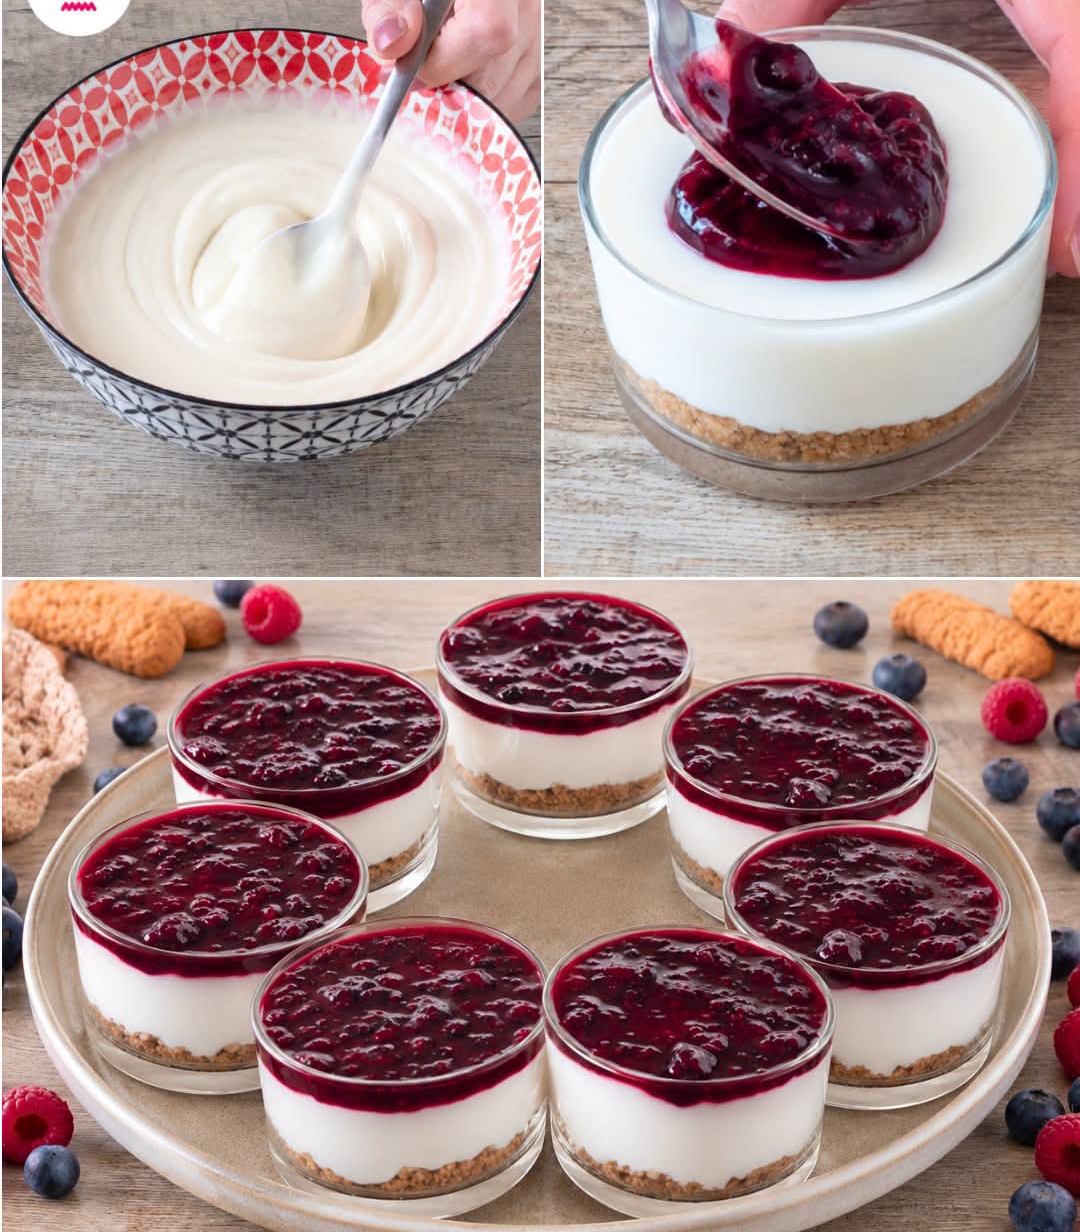
Looking for an elegant, crowd-pleasing dessert that takes just 20 minutes to prepare and requires zero oven time? These Mini Berry Cheesecake Cups are the answer.
With a buttery biscuit base, a cloud-like cream cheese filling, and a tart, juicy berry topping, they are the perfect balance of sweet and fresh. Serving them in individual glass bowls makes them look incredibly professional and takes all the stress out of slicing and plating. They are perfect for dinner parties, summer gatherings, or a weekend treat.
Why you’ll love this recipe:
· ✅ No Bake: No sweating over a hot oven.
· ✅ Individual Servings: No messy slicing, and they look stunning in glass cups.
· ✅ Make-Ahead: Perfect for preparing the night before a party.
· ✅ Customizable: Easily swap the berries or add lemon zest!
Full Recipe: No-Bake Berry Cheesecake Cups
Prep Time: 20 minutes
Chill Time: 3–4 hours (or overnight)
Yield: 6 small glasses (approx. 4 oz / 120ml each)
📝 Ingredients:
For the Base (Crust):
· Crushed Biscuits: 1 cup (about 90g) – Digestive biscuits, graham crackers, or Biscoff cookies work best.
· Melted Butter: 4 tablespoons (60g), unsalted.
For the Cream Filling:
· Cream Cheese: 8 oz (225g), softened to room temperature.
· Heavy Cream (or Double Cream): ½ cup (120ml), cold.
· Sugar / Powdered Sugar: ⅓ cup (40g) powdered sugar (or 5 tbsp granulated sugar).
· Vanilla Extract: 1 teaspoon.
For the Berry Topping (Compote):
· Mixed Berries: 1½ cups (200g) – Fresh or frozen. (Use blueberries, raspberries, and a few chopped strawberries).
· Sugar: 2 tablespoons.
· Lemon Juice: 1 tablespoon (freshly squeezed).
· (Optional) Cornstarch: 1 teaspoon mixed with 1 tablespoon cold water, if you want a thicker syrup.
🥣 Instructions:
Step 1: Make the Crust (Photos show the crumbly base)
- Crush your biscuits into fine crumbs. You can do this in a food processor or by placing them in a zip-lock bag and smashing them with a rolling pin.
- In a bowl, mix the biscuit crumbs with the melted butter until it looks like wet sand.
- Divide the mixture evenly among your 6 glass bowls. Press it down firmly with the back of a spoon or the bottom of a small glass to create a flat, compact base. Place them in the fridge to set while you make the filling.
Step 2: Make the Cream Filling (Top-left photo)
- In a large bowl, beat the softened cream cheese, sugar, and vanilla extract together with an electric hand mixer until completely smooth and creamy (no lumps).
- In a separate cold bowl, whip the cold heavy cream with a hand mixer until it forms stiff peaks (when you lift the beaters, the cream stands straight up).
- Using a rubber spatula, gently fold the whipped cream into the cream cheese mixture. Do not stir aggressively; fold until just combined to keep the mousse light and airy.
Step 3: Assemble the Cups
- Remove your glasses from the fridge. Spoon the white cream mixture over the crusts, filling each cup about ¾ of the way full.
- Smooth the tops with the back of a spoon or a small offset spatula.
- Place the cups back in the refrigerator to chill while you make the topping.
Step 4: Make the Berry Topping (Top-right photo)
- In a small saucepan over medium heat, combine the berries, sugar, and lemon juice.
- Cook for about 5–7 minutes, stirring occasionally, until the berries break down and release their juices into a thick syrup. (If you are using cornstarch, stir it in now and cook for 1 more minute until glossy).
- Remove from heat and let it cool completely to room temperature. Do not pour hot berries over the cream filling or it will melt.
Step 5: Final Assembly and Chill (Bottom photo)
- Once the berry compote is cool, spoon it evenly over the top of each cheesecake cup.
- Cover the glasses loosely with plastic wrap and refrigerate for at least 3 to 4 hours (overnight is best) to allow the filling to set completely.
💡 Chef’s Pro Tips:
· Room Temperature Cream Cheese: This is crucial! Cold cream cheese will leave you with lumps. Take it out of the fridge 30 minutes before you start.
· Jar Presentation: These look beautiful in small Mason jars or short, wide glasses so you can see the distinct layers.
· Topping Variations: Instead of cooking the berries, you can simply toss fresh berries with a little sugar and lemon juice and spoon them on right before serving for a fresher, less syrupy texture.
· Flavor Boosts: Add 1 teaspoon of lemon zest to the cream filling for extra brightness, or swirl a little berry jam into the white filling before chilling.