Article: The Foolproof Guide to Perfect Hard-Boiled Eggs (No Gray Yolks!)
There are very few foods as versatile and easy as the hard-boiled egg. They are a classic breakfast staple, a fantastic source of cheap protein, and the star of salads and sandwich fillings.
However, achieving the perfect hard-boiled egg is tricky. Boil them too long, and you get a rubbery white and a chalky, gray-green yolk with an unpleasant sulfurous smell. Boil them too little, and they are a sticky mess to peel.
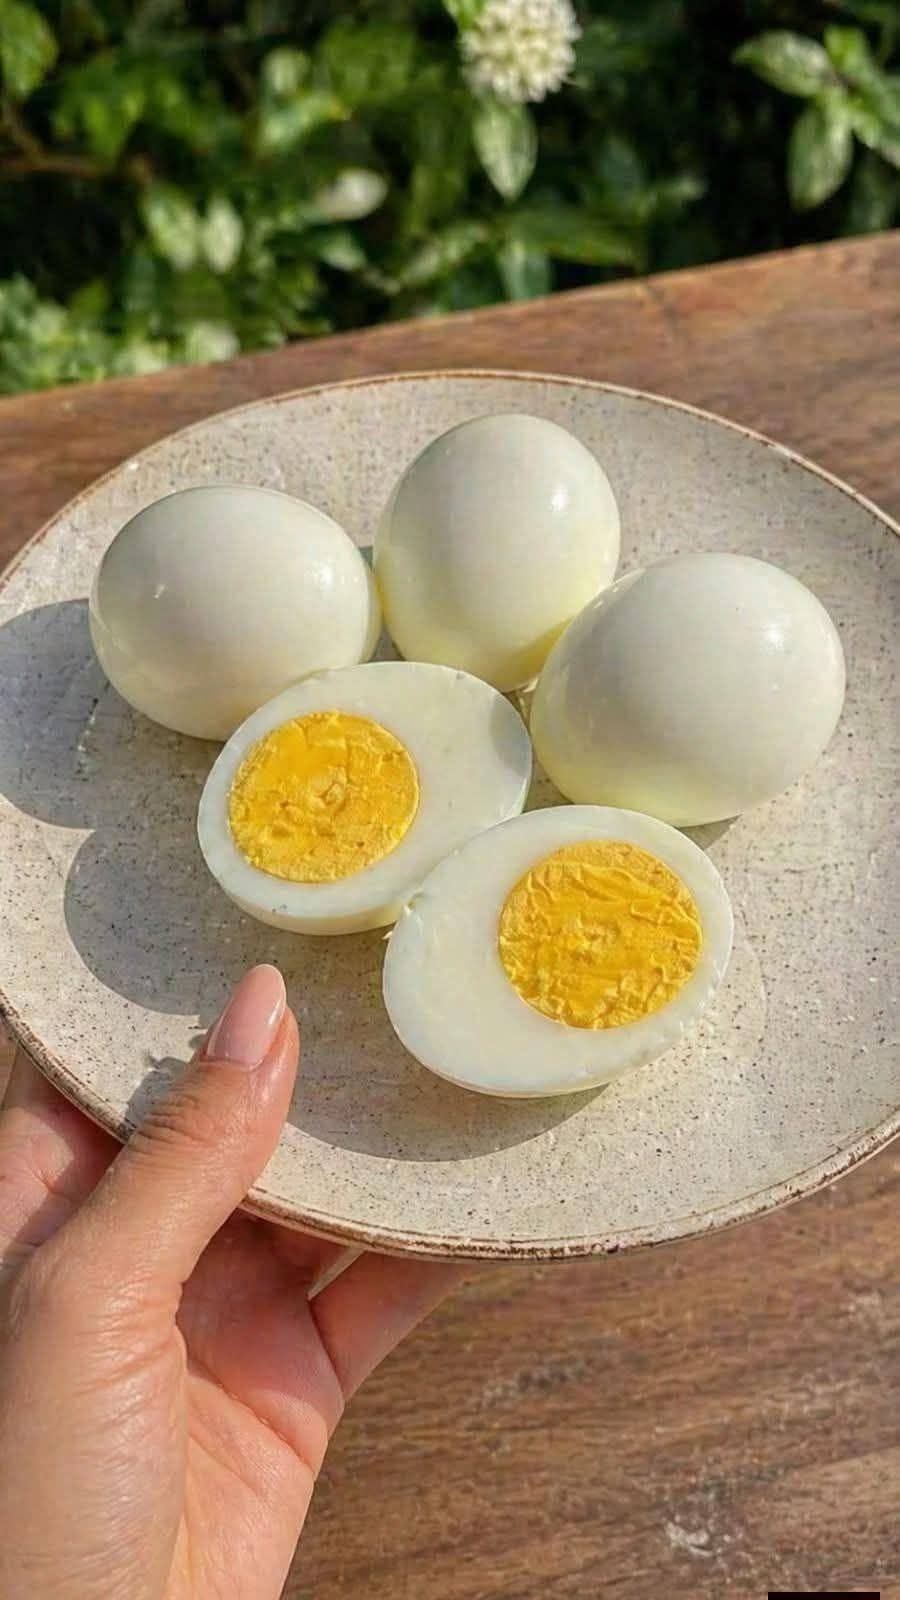
The secret to flawless eggs lies in the “Cold Start” method and an Ice Bath. By starting the eggs in cold water, letting them heat up gradually, and stopping the cooking process immediately, you guarantee a tender white and a perfectly creamy, bright yellow yolk, just like the photo.
Why you’ll love this method:
· ✅ Perfectly Cooked: Bright yellow, creamy yolks every single time.
· ✅ Effortless Peeling: The ice bath causes the egg white to contract, pulling it away from the shell.
· ✅ Zero Cracks: The cold start prevents thermal shock that causes cracking.
· ✅ Batch Friendly: Cook a dozen at a time for easy weekly meal prep.
Full “Recipe”: Perfect Hard-Boiled Eggs
Prep Time: 2 minutes
Cook Time: 10 minutes
Rest Time: 10 minutes (in ice bath)
Yield: 6 eggs
📝 Ingredients
· 6 Large Eggs (Take them out of the fridge; they can go straight in cold).
· Water: Enough to cover the eggs by 1 inch.
· Ice: 2 cups (for the ice bath).
🥣 Instructions
Step 1: The Cold Start
- Place the eggs in a single layer in the bottom of a medium saucepan. Do not stack them.
- Fill the pot with cold tap water until the water covers the eggs by about one inch.
Step 2: Bring to a Boil
- Place the pot on the stove over high heat.
- Bring the water to a rolling boil (the point where large bubbles are constantly breaking the surface). Do not cover the pot; watching it is easier.
Step 3: Set the Timer (The 10-Minute Rule)
- As soon as the water reaches a rolling boil, set your timer for exactly 10 minutes.
- If you want slightly softer, jammy yolks, set the timer for 8 minutes. If you want very firm, chalky yolks (for deviled eggs), set it for 12 minutes. 10 minutes is the perfect “goldilocks” zone.
Step 4: The Ice Bath (Crucial Step)
- While the eggs are cooking, prepare a large bowl with cold water and the 2 cups of ice.
- When the timer goes off, immediately drain the hot water from the pot.
- Gently transfer the hot eggs into the ice bath using a slotted spoon.
- Let them sit in the ice bath for 10 to 15 minutes until they are completely cooled. The rapid temperature change is what makes the shells peel off in large, clean sheets.
Step 5: Peel and Store
- Crack the shell all around by tapping the egg on the counter.
- Roll the egg gently under your palm to loosen the shell, and peel it off under running cold water (the water helps wash away any tiny shell fragments).
- Pat them dry and serve, or store them in an airtight container in the fridge for up to one week.
💡 Chef’s Pro Tips:
· The Green Yolk Myth: If your yolk turns green/gray, it means you cooked it for too long (over 12 minutes). It is harmless but tastes sulfurous. The ice bath stops the cooking process before this happens.
· Fresh vs. Old Eggs: Farmers often say “fresh eggs are harder to peel.” This is true! If you are using very fresh eggs (straight from a farm), adding a teaspoon of baking soda or vinegar to the boiling water can help make them easier to peel.
· How to Slice: To get those perfectly clean halves like in the photo, use a serrated knife or run your knife under hot water before slicing. This prevents the knife from dragging the yolk.
· Flavor Boost: While they are still warm, you can poke tiny holes in the shell or peel them and put them in a jar with soy sauce, water, and vinegar. Let them marinate overnight for Japanese-style Ramen eggs!